a) Create the pattern
b)Use the Pattern to fill a Layer
A) Create a Pattern
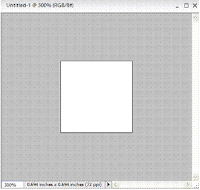
Step 1. Create a 50 x 50 image, 72 pixels/inch, white background, RGB Mode. Use the Zoom Tool  to zoom in a couple of times to make the image larger so you can see it better.
Step 2. Change the foreground and background colors of your preference
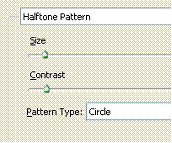
Filter > Sketch > Halftone Pattern, select the following settings:
Step 3. Click on Select > All. You will notice that the all square gets selected. Now go to Edit > Define Pattern from Selection. You can rename it if you want. Click OK.
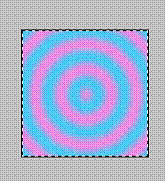
B) Applying The Pattern
You can apply these patterns to fill layers creating background images or just apply to create Magnificent Text. In the following steps you have these 2 examples:
Step 4. Create A 600 x 600 pixels, 72 pixels/inch, White background, RGB color mode
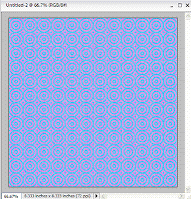
Edit > Fill Layer, in the Fill Layer dialog window, select Use patterns. In the Custom pattern option select the pattern you just have created, See the image below:
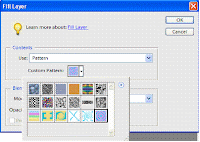
Final Background Image
c) Apply the Pattern to create magnificent Text Effects.
Step 5. Create a 800 x 400 pixels, 72 pixels/inch, white background, RGB color mode
Step 6. Color your background image with a solid color of your preference.
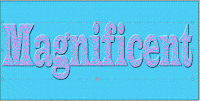
Step 7. Select T for Text, type “Magnificent”, make sure you select a tick font like Impact to get better results. I used Wide Latin Font.
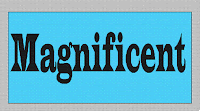
Step 8. Keeping the text Layer selected, Layer > Simplify Layer or Layer > Rasterize >Type to change the vector to Pixels.
Step 9. Holding Ctrl key, click on the text layer thumbnail to select the text
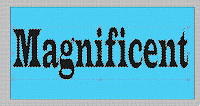
Step 10. Edit > Fill Selection, click OK. Ctrl + D to deselect the text
Step 11. Finally, you can apply any other layer effect like Simple Outer as shown
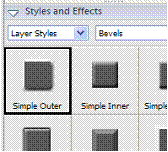
Final Result
 to zoom in a couple of times to make the image larger so you can see it better.


No comments:
Post a Comment